While filing ITR, many taxpayers often face validation errors which can be frustrating. To effectively solve these issues, there are specific tips to eliminate such errors during the validation process. Following these guidelines it can help to streamline your ITR filing.
Validation Errors
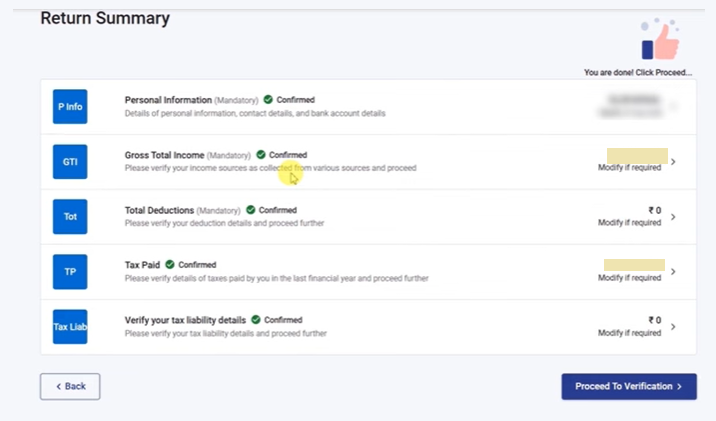
- First, you need to click on “Proceed to Verification” after entering all the details to check the form for errors.
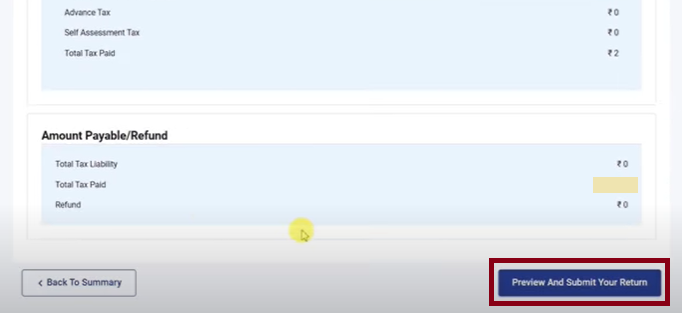
- Scroll down and click on “Preview and Submit Your Return“, then select the check box and input Place and Date. Scroll down again and click on “Proceed to Validation” to validate your return.
- If errors appear, double click on errors one by one which will directly take you to the section where correction is required.
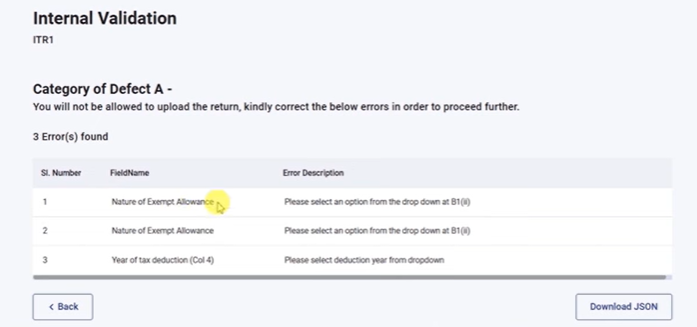
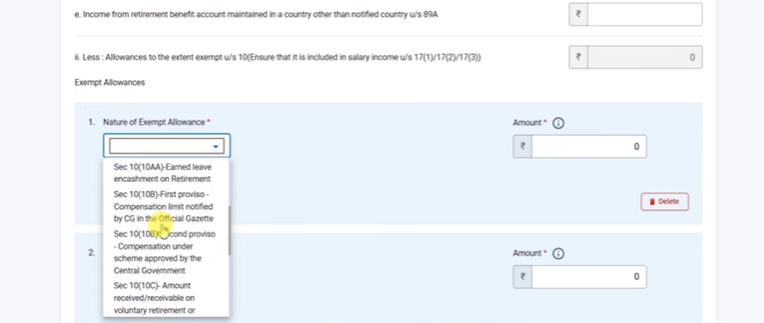
- In the “Nature of Exempt Allowances” section, if there is any amount, you must select the correct option and fill in the exact details or if the amount is zero, you can delete that entry.
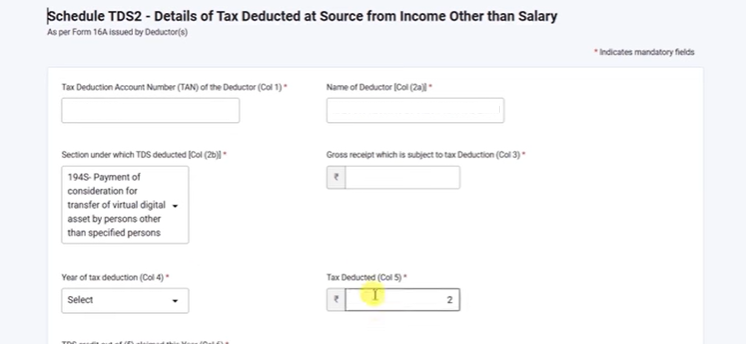
- For TDS errors, you must report correctly financial year, gross receipt and TDS deducted.
- After resolving each error, save the form and go back to “Proceed to Verification”.
- Once verification is successful, you will get a preview of the complete ITR, which can be downloaded before submission.
- Then click again on “proceed to validation” which will show upload level validation.
- Un upload level validation, if there is error they will show the same. To check the click on the error which you may ignore and e-verify.
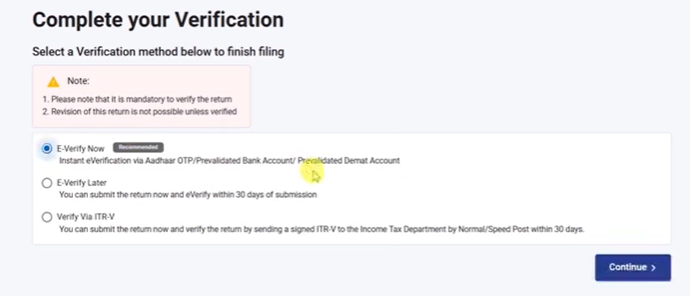
- E-verification can be done easily using OTP sent to the Aadhaar-linked mobile number.
Finally, the ITR gets successfully submitted, a receipt can be downloaded, and if any mistake is later noticed, the ITR can be revised.
Click to know – ITR Validation Error Solved by Fixing ‘Type of Account’
