
Hi, I think everyone usually needs screenshots when working on some tasks related to the Internet, either you want to capture bugs, share screens or even save stuff that you can't copy, right? So I would like to recommend a free and simple screen capture extension on browser called qSnap.
Product Details:
|
Publisher |
QASymphony Ltd. |
|
Price |
Free |
|
Version |
1.4.1.0 |
|
Last updated |
Apr 10, 2014 |
|
O/S |
XP/Vista/7/8 |
|
File Size |
284 KB |
Features:
· Capture visible screen or full page.
· Edit your snapshots with the built-in annotation tools
· Save as JPEG and PNG.
· Share a file URL / JPEG file / PNG file.
· Capture web pages in Chrome, Firefox, Opera, Safari and IE.
· Allow to store your captures in the free hosting service named qSnapshare.
How to use it?
Simply follow my instructions below:
Step 1: First, you have to install qSnap extension. It’s just 284KB for Chrome here. If you use other browsers, it should be found here.
Step 2 (optional but highly recommended): Create an account in qSnapshare. I recommend to do this step early, because you will be asked to login later if you want to share files online. In case you just want to save files locally then just ignore this step.
Step 3: Go to a webpage that you wanna capture screen.
Step 4: Click qSnap icon in your toolbar as below. Now you have two options: visible screen or full screen
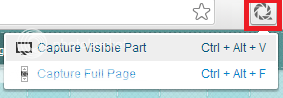
Option 1: Capture Visible Part (hotkey are also available as show). If you choose this, your screenshot contains only what you are seeing in the screen.
Option 2: Capture Full Page You can capture the whole webpage which means your snaps will contain more details.
Step 5: After you click one of the two options, new tab is automatically opened. Now you can edit your snaps with qSnap’s annotation tools in the toolbar up on the top.

As can be seen from the above, from left to right, we have: mouse, rectangle, eclipse, arrow, text boxes, callout, pen (to crease any kinds of shape) and blur (to hide sensitive/ private information).
The rest includes: crop, line colour, border size and font size. The two arrows are undo and redo.
Step 6: Done with adding notes? Then share! The share button is located on the far right bottom. You have these options:
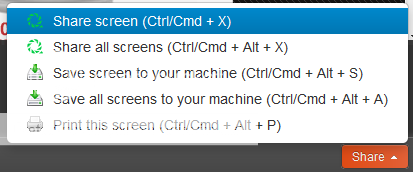
The first two options “share screen / all screens” allow you to share instantly via qSnapshare – it automatically generates links for you to share. You can also save locally to your PC/laptop, as well as print your snaps.
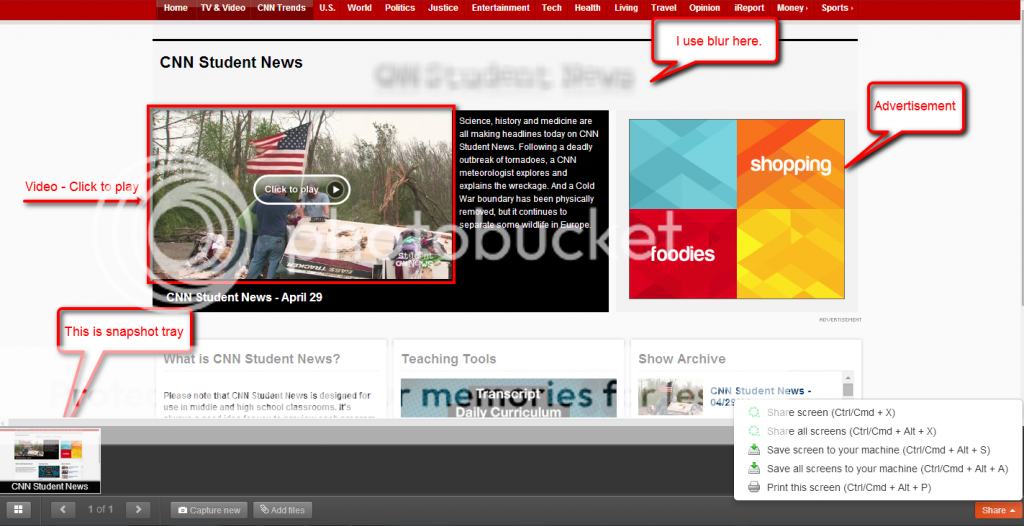
Take a look at my sample shot:
I hope that helps. Enjoy this free tool :-)


 CAclubindia
